

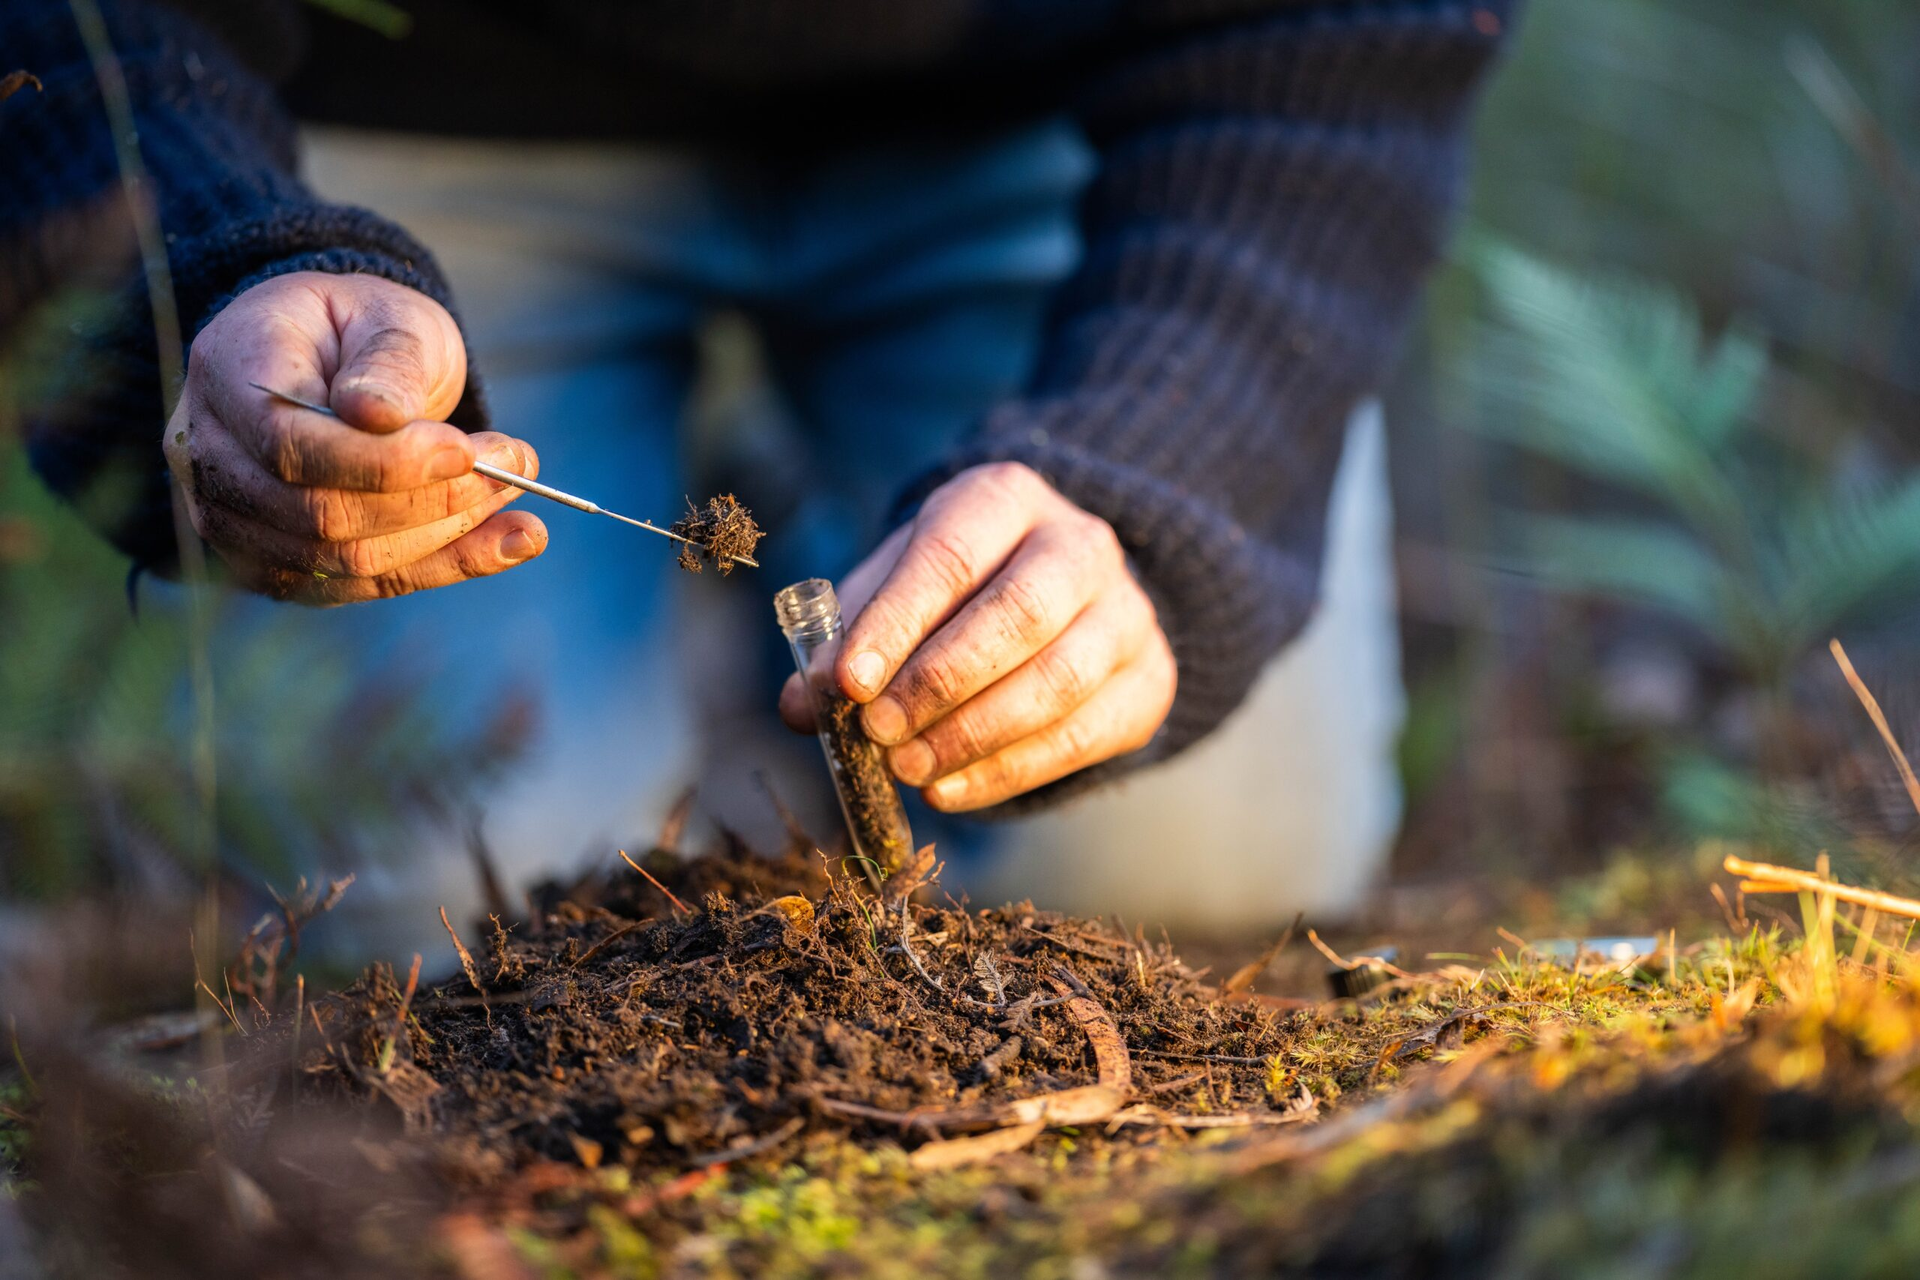
Editor’s note: This story was originally published here lawnstarter.
Preparing a proper soil sample is the key to accurate data on your soil’s pH, nutrient levels, and the exact soil amendments needed for your lawn.
The process is simple: Collect eight to 10 soil cores from your lawn, mix them in a bucket, transfer the mixture to a sample container, label it, and send it to your state’s extension service for testing.
Follow these steps, and you will get accurate results and tailored recommendations for your lawn.
Step 1: Choose a testing laboratory
Your state’s Cooperative Extension Service is your best option for lawn soil testing.
Why? Extension laboratories know your area’s soils inside and out, use calibrated equipment, and tailor recommendations to your local climate. Plus, they’re affordable – most laboratories charge $10 to $25 per sample for a standard soil test.
Search online for “(your state) Cooperative Extension Soil Testing” or simply call your county extension office. They will show you the right direction.
Step 2: Collect Your Clay Pieces
The accuracy of soil testing starts with how you collect soil samples. Your goal? Gather several small samples (called cores) that together represent the average condition of your lawn.
use the right tools
A soil sample probe makes collection the easiest and most consistent. Don’t have one? No worries – a clean stainless steel or chrome-plated shovel or garden trowel works equally well.
pro tip: Avoid brass, bronze, or galvanized appliances. They can contaminate your sample with copper and zinc, which can distort test results.
proper collection technique
Remove debris and thatch from the sampling site. Insert your soil probe straight down, pull it back, and put the core into a clean plastic bucket.
Using a shovel or trowel instead? Dig a small hole, then cut a thin vertical piece (about 1 inch thick) from the edge. Cut off the edges so you are left with a ribbon of clay about 2 inches wide.
How deep to dig?
Generally, 4 to 6 inches for established lawns and 6 to 8 inches for new lawns and flower beds – but this can vary by laboratory. For example, the Virginia Tech Soil Testing Lab recommends a sampling depth of 4 inches for lawns, while the University of Missouri (MU) lab uses 6 inches.
“This is the depth that is used to calibrate our fertilizer and soil health recommendations. It is important to match it,” says Muhammad Russel Parvez, director of MU’s Soil and Plant Testing Laboratory and Soil Health Assessment Center.
pro tip: Maintain the same depth for all samples. Pervez explains that nutrient levels, pH and organic matter change with depth, so mixing 2-inch and 6-inch samples can give misleading results.
take adequate samples
For each mixed sample, take eight to 10 cores in a zigzag pattern from an area of your yard. Sample several areas separately. “The greater the number of samples mixed, the better the recommendations,” says Parvez.
pro tip: Avoid collecting samples when the soil is very dry, frozen or waterlogged.
Where to sample (and where not to)
Collect cores only from areas with similar characteristics – similar grass type, sun exposure and care history. Avoid sampling near sidewalks, driveways, fence lines, spots with fertilizer spills, bare patches, mossy areas, and low spots with standing water.
Areas of low grass growth or yellowing? Sample them separately. Mixing problem areas with healthy areas will dilute your results and mask the specific issues you are trying to resolve.
pro tip:Test your front and back lawn separately. They often have different soil conditions and different sun exposure and drainage.
Step 3: Mix the Sample Well
Start by breaking up any large clumps and removing thatch, rocks, roots, twigs and other debris. “Laboratories mostly want mineral soil, not yard waste,” says Parvez.
Stir the soil thoroughly for at least a minute. Difficult to mix? There may be a lot of moisture in it. “If the soil is very sticky, sticks to the tool, or forms a solid ‘snake’ or ball that won’t crumble, it’s probably too wet,” says Parvez.
He recommends letting the clay air dry at room temperature until it becomes crumbly. Spread it on a sheet of newspaper and leave it in a shady place for a few hours or overnight. Never use heat – the oven or direct sunlight can damage the sample and spoil the results.
Once it is dry enough to handle, stir it well again. Then, take out 1-2 cups of mixed soil and transfer it to your sample container.
Most extension services provide bags or boxes with a filler line – don’t go beyond this. Using plastic storage bags instead? Squeeze out excess air and seal it tightly.
Now that you know how to take a soil sample, here’s how to label it.
Step 4: Label Your Sample Correctly
Accurate labeling ensures that your results come back to you (not your neighbor!) and that you can match the recommendations to the correct part of your lawn. Include these details with each sample you submit:
your contact information: Full name, postal address, email address and phone number.
what are you growing: Specify your grass type (Bermudagrass, Zoysiagrass, Tall Fescue, etc.). Different grasses have different nutrient requirements. This helps the lab formulate its recommendations.
sample identifier: Give each sample a unique name or number (especially important if you are submitting more than one). Use descriptive labels such as “front yard,” “backyard shady area,” or “problem location near the driveway.” Keep a record or map of what each label means.
additional context: Note any concerns (poor growth, yellowing, bare spots) and recent treatments, such as fertilizer or lime application. The more context you provide, the more useful your recommendations will be.
Most extension services include a submission form with their sample kits. Fill it out completely – incomplete forms will delay your results.
Step 5: Send your sample for analysis
Package your sample securely so that it will not leak during transportation. Include all required forms and payment, then ship it as quickly as possible for the most accurate results. Can’t it be sent immediately? Keep the samples in a cool, dry place.
Most extension services take 2-4 weeks to analyze your sample and send results via email or mail. What will you get? A report with current nutrient levels, pH readings and specific recommendations for amendments, including how much fertilizer or lime to apply for your lawn’s needs.
pro tip: Many Extension offices will send your soil sample to the state laboratory at no additional charge. Ask your county office if they offer this service.
Common Soil Sampling Mistakes to Avoid
Even when you know how to prepare a soil sample for testing, some common omissions can lead to poor results. “A common mistake is to take soil from one ‘convenient’ or ‘best looking’ area and send it to the lab,” says Parvez. “It is rarely representative of the entire lawn.”
Here are other details worth paying extra attention to:
- sampling immediately after fertilization: Wait at least six to eight weeks after applying fertilizer or lime. Recent applications may artificially inflate nutrient readings.
- taking very few samples: Eight to 10 cores is the minimum for a representative sample on lawns of 10,000 square feet or smaller. Fewer cores may miss important variations.
- Mixing problem areas with healthy areas: Always sample problem areas separately to avoid masking specific problems.
- sampling at incorrect or inconsistent depths: “Homeowners often take shallow scoops or mix topsoil with deeper subsoil, which can lead to inaccurate results,” says Parvez.
- Using contaminated tools and containers: Avoid metal buckets and tools with fertilizer or lime residues, as they may contaminate the samples. Stick to clear plastic instead.